I used to think a perfect photography blog travel setup meant carrying everything I owned. Two cameras, three lenses, and a bag that made airport security hate me. It didn’t take long to realize I spent more time managing gear than enjoying the trip.
Now my photography blog travel setup feels lighter, faster, and way more intentional. I focus on what helps me shoot consistently, edit quickly, and actually tell better stories. If you’re building your own setup, I’ll walk you through what works in real life, not just on paper.
What Is the Ideal Photography Blog Travel Setup for Real Trips?
I learned early that the best setup isn’t the most expensive one. It’s the one you actually use every day without feeling tired or overwhelmed.
A practical photography blog travel workflow setup balances three things: portability, versatility, and reliability. I want gear that fits in one bag, handles different scenes, and doesn’t slow me down when I move between locations.
When I travel, I walk a lot, shoot quickly, and adjust to changing light. A bulky setup ruins that rhythm. A smart setup supports it.
What Camera and Lenses Do I Carry While Traveling?
I rely on a mirrorless camera like the Sony Alpha a6700 because it gives me professional quality without the weight of a DSLR. It fits easily in my daypack and handles both photos and video without stress.
For lenses, I stick to two options. An all-in-one zoom like an 18–200mm lets me shoot landscapes, street scenes, and portraits without switching lenses constantly. It keeps things simple when I’m on the move.
I also carry a fast prime lens, usually a 35mm or 50mm f/1.8. I use it in low light and when I want that soft background blur. It instantly makes photos feel more personal and cinematic.
How Do I Keep My Gear Lightweight but Still Powerful?
I stopped chasing “perfect gear” and started focusing on “usable gear.” That shift changed everything.
I carry a small carbon-fiber tripod or even a mini tripod. It works for night shots, long exposures, and solo photos without adding bulk. I don’t need a heavy studio tripod while traveling.
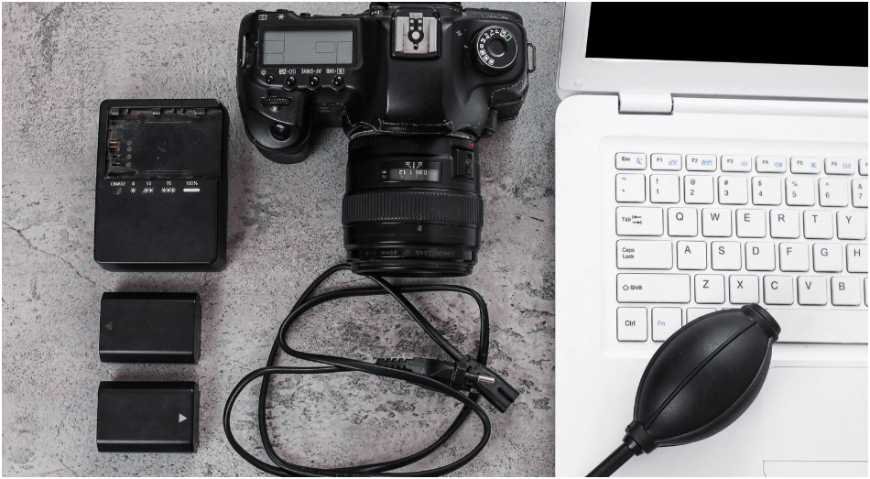
Accessories matter more than people think. I always pack extra batteries because travel days run long. I carry multiple small memory cards instead of one big one, which reduces risk if something goes wrong.
A simple lens cleaning cloth stays in my pocket. Dust and fingerprints show up fast when you shoot outdoors.
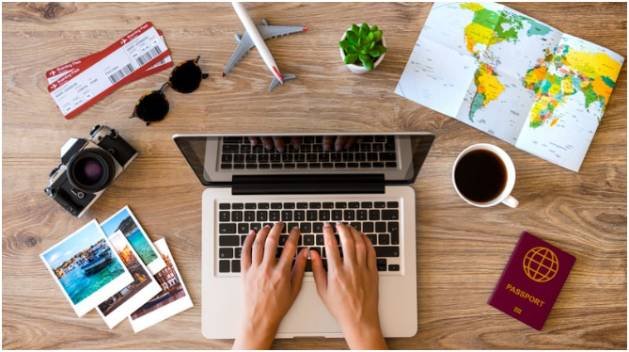
How Do I Manage Photos and Workflow on the Road?

This is where most people struggle. Shooting is fun, but managing files while traveling can get messy if you don’t build a routine.
Every evening, I back up my photos. I use an external hard drive and sometimes cloud storage when I have good internet. Losing photos feels worse than losing gear, so I treat backups as non-negotiable.
For editing, I use Adobe Lightroom. I created presets that match my blog style, so I can edit quickly and keep everything consistent. This saves time and keeps my content recognizable.
I also plan ahead using Google Maps. Before I travel, I pin locations I want to shoot. This helps me move with purpose instead of wandering without direction.
Why Does Storytelling Matter in a Photography Blog Travel Setup?
I used to focus only on landscapes, but my blog didn’t feel alive. Once I started including people, small details, and everyday moments, everything changed.
A strong photography blog travel setup isn’t just about gear. It’s about what you capture. Adding human elements gives your photos emotion and scale.
I look for moments that feel real. A local café scene, a quiet street, or someone walking through the frame can tell a better story than a perfect empty view.
That shift helped me create content people actually connect with, not just scroll past.
How Do I Choose the Right Platform for My Photography Blog?
Your setup doesn’t stop at gear. Where you publish matters just as much.
I prefer visual-first platforms like Wix because they let my photos stand out. Clean layouts, large images, and minimal clutter help readers focus on the visuals.
I design my blog like a gallery, not a text-heavy page. That approach makes people stay longer and explore more of my work.
A good platform supports your photography blog travel setup by showcasing your images in the best possible way.
How to Build a Photography Blog Travel Setup Step by Step
I built my current setup through trial and error, and this process works every time I refine it.
First, I choose a camera that I can carry all day without thinking about it. If it feels heavy at home, it will feel worse on the road.
Next, I limit my lenses to two. One versatile zoom and one fast prime. This keeps my bag light and my shooting decisions simple.
Then I pack essential accessories like batteries, memory cards, and a compact tripod. I avoid extras that I rarely use.
After that, I set up a daily workflow. I schedule time every evening to back up photos and do quick edits. This prevents backlog and stress later.
Finally, I plan my shooting locations in advance. I save spots on Google Maps so I don’t waste time figuring things out on the go.
Quick Comparison: Minimal vs Heavy Travel Setup
| Setup Type | Pros | Cons |
| Minimal Setup | Easy to carry, faster shooting | Limited lens flexibility |
| Heavy Setup | More creative control | Slower, tiring, less flexible |
I always choose minimal because it keeps me consistent. Consistency matters more than having every option.
What Mistakes Should You Avoid in a Photography Blog Travel Setup?
I made plenty of mistakes early on, and they slowed me down more than I realized.
Carrying too much gear feels like a good idea until you actually walk all day. You end up skipping shots because setting up takes too long.
Ignoring backups is another big mistake. One lost memory card can ruin an entire trip if you don’t have a system.
Overcomplicating your workflow also hurts. If editing takes hours every day, you will burn out quickly. Keep things simple and repeatable.
Key Takeaways
A practical photography blog travel setup focuses on simplicity, not excess. Choose lightweight gear, build a daily workflow, and prioritize storytelling over perfection. When everything feels manageable, you create better content without stress.
FAQs About Photography Blog Travel Setup
1. What camera works best for a photography blog travel setup?
A compact mirrorless camera works best because it balances quality and portability. You get professional results without carrying heavy gear, which makes daily shooting much easier.
2. Do I need multiple lenses while traveling?
No, you don’t need many lenses. One all-in-one zoom and one prime lens cover most situations and keep your setup simple and lightweight.
3. How do I back up photos while traveling?
I back up photos daily using an external hard drive and sometimes cloud storage. This routine protects my work and gives me peace of mind throughout the trip.
4. Is editing necessary for a travel photography blog?
Yes, editing helps create a consistent style. Tools like Lightroom make it quick and easy to enhance photos and maintain a recognizable look across your blog.
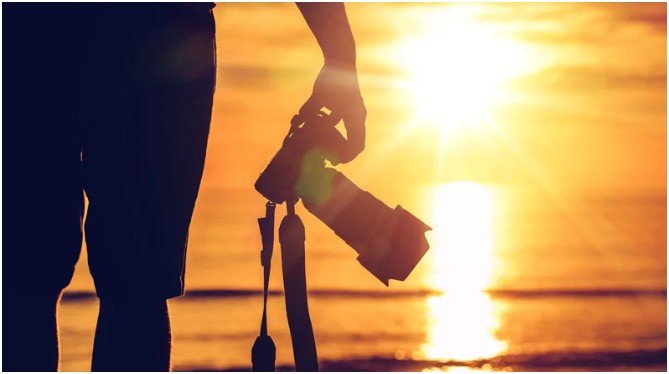
Your Gear Doesn’t Make You Interesting, Your Story Does
I used to chase better gear thinking it would improve my blog. What actually made the difference was how I used what I had.
A strong photography blog travel setup supports your creativity instead of distracting from it. When your gear feels easy to carry and your workflow feels natural, you focus more on moments and less on logistics.
Keep it simple, stay consistent, and trust your eye. The best photos usually come from being present, not from carrying more.